Export-Import Content and Translation Workflow for Umbraco
GPI the translation agency has extensive experience interfacing with a variety of WCMS products in order to help clients author and publish multilingual content destined for an array of target formats.
In Part 1 of the Multi-Language websites in Umbraco CMS series, we discussed “Setting up Umbraco for Multi-Language Websites“. In this part 2 (of 2) I will discuss how you can export content from your Umbraco website to be sent for translation and import the translated content back into the system.
![]()
Localization of Umbraco Content
After setting up Umbraco for multi-language, the second step is to localize the content. In fact, Umbraco provides a unique approach for website translation by adding to the CMS a special account for translation that facilitates the localization process between CMS admins/writers and translators.
Translation account is built in Umbraco by default and allows translators to deal with the content without having full access to it or publishing rights. Also, Umbraco generates the content in XML format. Using translation account, translators can login and download it. Once translation is done, they can login again and upload the translated file.
Umbraco Translation Workflow
First step: Setup translation account
The following steps describe how to setup Umbraco Translation account:
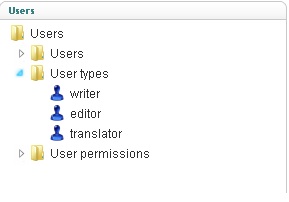
Umbraco is shipped with 3 users’ types by default: Writer, editor and translator.
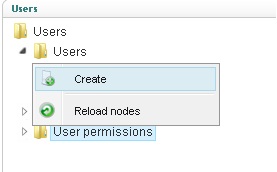
To add a new user under Translator group, select Users folder, then right click and select Create
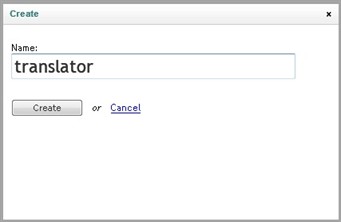
Add user name and click Create
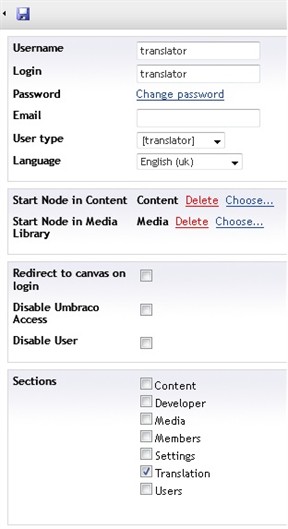
Assign the user to the Translation group and add related information such as user credentials. The email field here is used to send notification to the translator once a new translation request is created. By clicking save the new translator account is ready.
Second step: Author sends translation request:
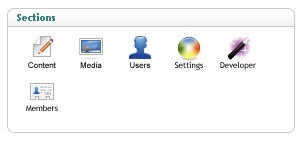
Select Settings to display the websites tree:
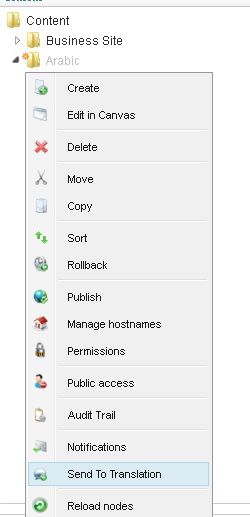
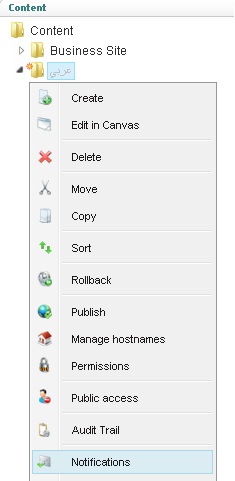
Select the page(s) or the parent website node that need to be localized, right click, and select “Send to translation”
Assign translator name, translation language and check “Include subpages” to include subpages. You can also add any additional information to be sent to the assigned translator along with the translation package.
Note: the available target languages here are the ones enabled by the administrator.
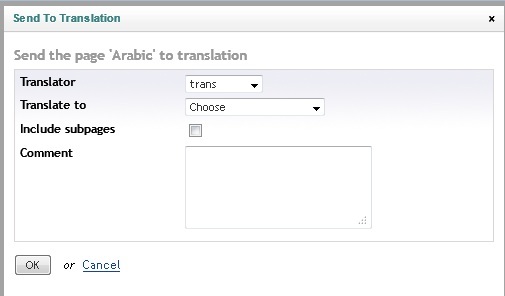
Click OK. Translation request is submitted to the translator and an email notification is sent also to his email.
Third step: Translator receives translation request
After login, translator will see the translation requests
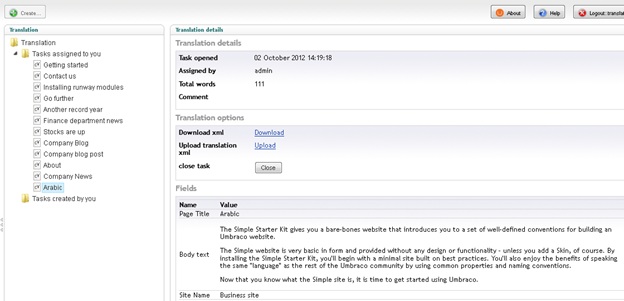
Translator download file for translation
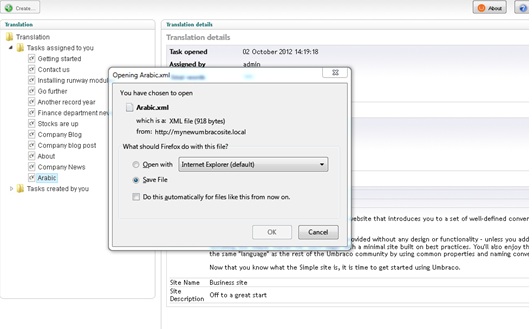
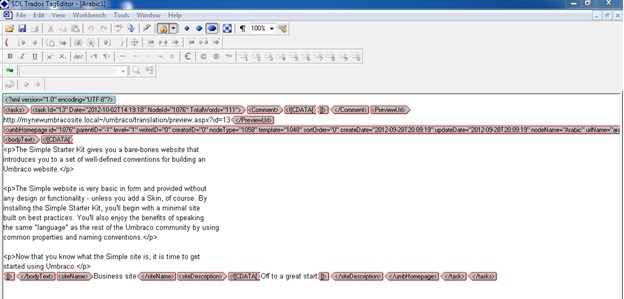
The downloaded file for translation is in XML format and ready for translation using many translation tools such as TagEditor.
After translation, translator upload the translated xml file, close the task and the request sender is notified about the final status:
Translator select Upload:
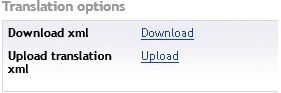
Browse to the translated file and upload it and once uploaded the task will be closed.

Once done the author is notified, but to make the notification option available the following steps are needed:
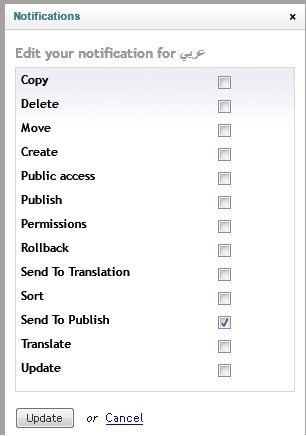
Select the website to receive notifications about it and right click. Select Notifications
Check “Send to Publish” and click update.
Revision and QA:
– Author review translated pages after receiving the notification.
– For Editing or updating translation, reviewer can re-send a page or group of pages back to the translator following the same steps above with a note about the changes needed.
– Translator will receive another notification by email and will download the pages again from translation account to update the translation.
– Translator upload back the updated translations.
Localization of static strings
Static content is the texts or strings that the writer cannot edit using the CMS editor. These strings are often saved in CMS templates and scripts. These texts should be externalized and replaced by Umbraco built-in function GetDictionaryItem.
To localize the static strings, all of them need to be added to what Umbraco calls Dictionary from where they will be called using the above method.
First step is to create new Dictionary:
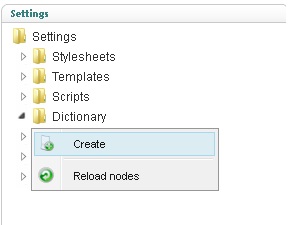
Click Settings, select Dictionary folder, right click and select create
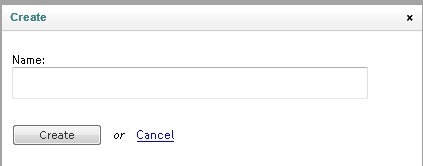
Add Dictionary name and click create.
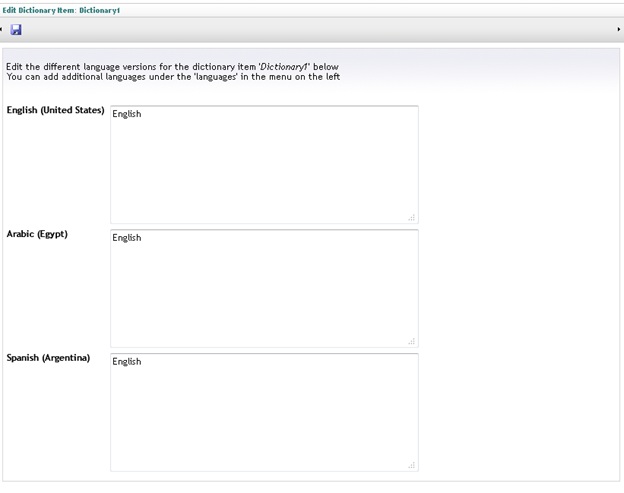
The created dictionary will contain an entry input per language already enabled on the CMS. Enter the English string(s) in each of the language entries (later we will export the dictionary for translation) and press the save icon. Repeat the same steps to create any number of dictionaries as needed based on your templates structure.
As our dictionaries are ready, now we need to export them for translation and import them back.
Export / Import Dictionaries:
Umbraco does not provide any built-in tool that can automate this process. For sure such a feature can be developed or even these strings can be exported / imported using T-SQL scripts but these choices need programming knowledge and involve some risks if not developed accurately.
Fortunately, there is a good and free third-party package that provides the export / import feature needed (Dictionary Dashboard) that can be downloaded from the following link:
https://our.umbraco.org/projects/backoffice-extensions/dictionary-dashboard
Installation:
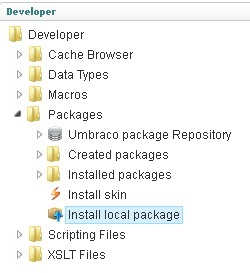
– Select Developers icon in sections panel
– Select Packages > Install local package
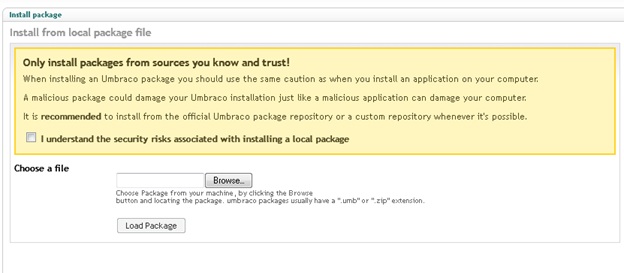
– Browse to the package and click load package.
– After installation a tab will be added in the content section “Dictionary”

– By selecting the Dictionary tab the main screen of the package appears with 3 functions: Edit dictionary, Export dictionary in xml format and import Dictionary.
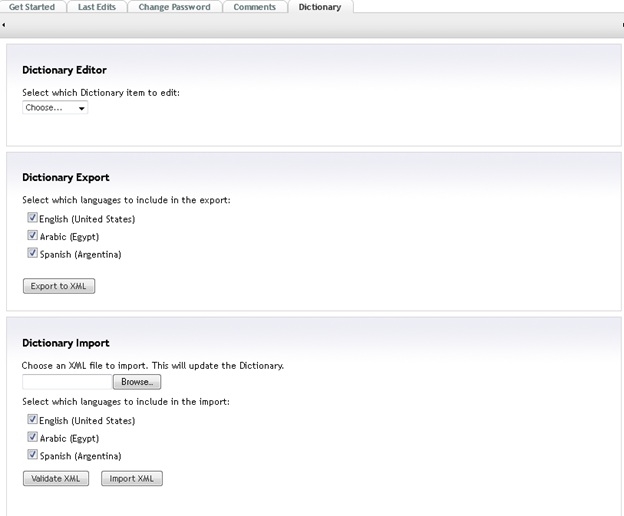
– User can then export the dictionary for translation and import it back in very easy steps.
Publishing Content:
Once the content (Dynamic and static) is localized, the web site is ready to publish.
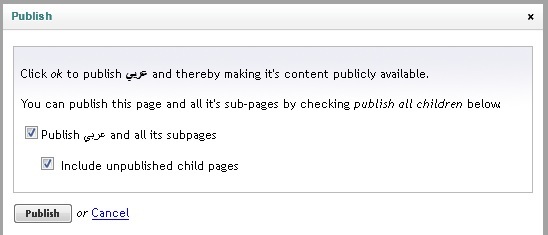
To publish the website, right click the translated website parent node and select Publish
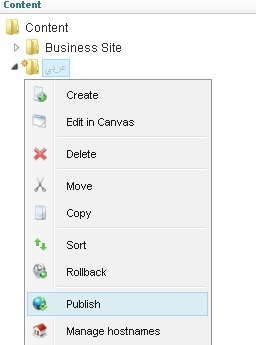
You can check “Publish <Website> and all its subpages” and “Include unpublished child pages” to publish all the pages and press Publish.