Adobe Experience Manager Internationalization
In the first GPI blog in the Adobe Experience Manager (Adobe CQ) series (see Setting up Adobe Experience Manager for Multilanguage Websites Part 1), we introduced this powerful platform and how to configure it properly to manage multilingual content through content-centric applications like Workflow Management, Digital Asset Management and Social Collaboration. In this follow up blog, we will provide a refresher on how to configure the CMS for multilingual websites which includes preparing content for translation and using the Adobe CQ Translator module tool.
Setting up Adobe CQ5 for multilingual websites
Adobe CQ Web Content Management System handles multilingual content in a very organized and straightforward way. Following these simple steps, the source content can be easily localized into a number of target languages. Here are the steps needed to enable multilingual content.
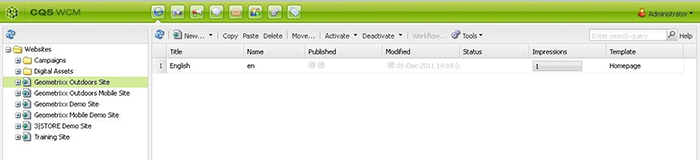
First, select the site with the source content you want to translate into other languages then select NEW.
Insert Title and Name. (Name here will be the target language locale and it should be in the following format: <language-code> or <language-code>_<country-code>. Example: en_GB.)
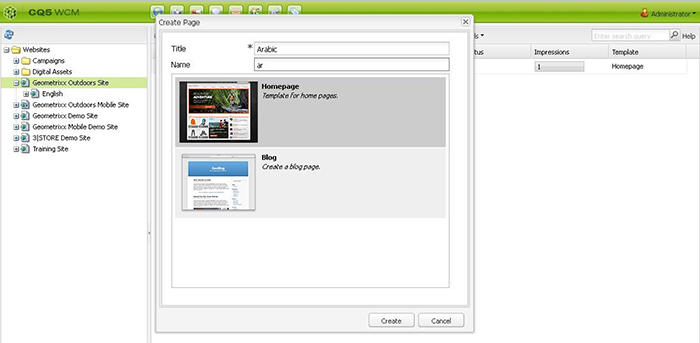
Select the Template and click Create. The main node of the target website will be created.
Prepare Content for translation
Now we need to copy the content to be translated from the source English website into the target one.
First select the web node from the tree in the left column then select Tools > Language Copy.
Select “English+” for each parent node.
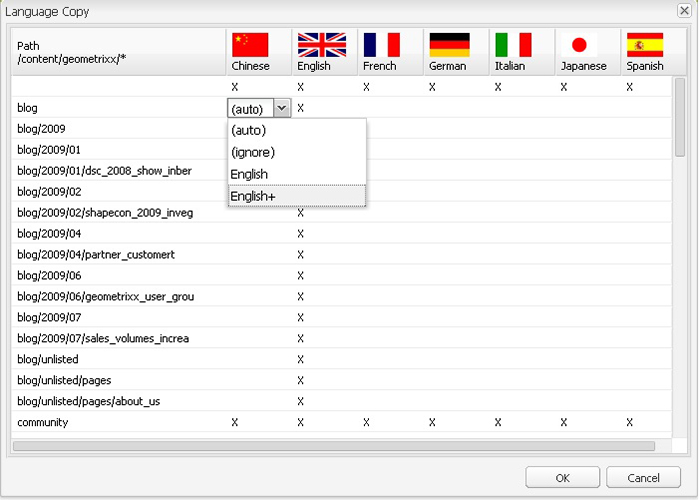
Should all website pages need to be localized, select all the Parent nodes of the website using the English+ (en+) and click OK; all nodes should be selected automatically.
Once this process is complete, the new websites with all the pages will be available with the identical structure as the original source website.
Adobe CQ Translator module
CQ Translator Module is a tool to internationalize the content of the UI interface. It uses keys/values to manage and update the related strings between the website’s different languages.
To access this tool you need to use CRXDE which is a standalone Eclipse application customized specifically for CQ and CRX for project development purposes. When using CRXDE, be sure that CQ5 is launched and the correct URL, username and password are set.
To demonstrate CQ5 translator functionality, let’s suppose that we have a component (Search component for example) with texts/strings such as “Next”, “Previous”, “Results” etc.
In CRXDE, create a folder with the name “i18n” under Apps {Your application} {Components} {Your control folder}.
Add a sub folder per target language: (example: es, fr, it).
Add the following properties to each language folder:
- Jcr:language and set the value to the equivalent target language (i.e. es, nl, fr…)
- jcrmixinTypes with value mix:language.
Once the above structure is done, the CQ5 Translator tool may now be used to manage the translation of text in the search control:
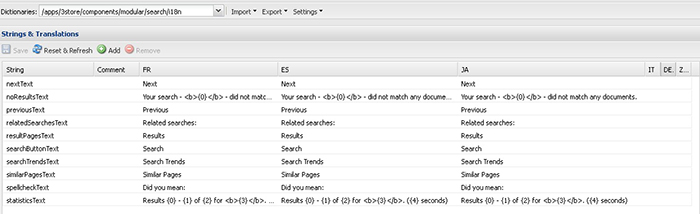
The CQ5 Translator tool main screen has the following features:
- Dictionary path: where you can select the path of your application
- Import: to import translation in XLIFF format
- Export: export one or more languages for translation in XLIFF format
- Settings: managing languages
- Filter by text: search text by different options such as by changes, comments or missing translation
The language columns that appear in the CQ5 Translator tool are the ones you selected in the previous step (under i18n folder). Select Export > Export full {Language name} xliff. The document will be exported in the XLIFF format.
After translation, select Import > XLIFF translation > Browse to the xliff translation and check Overwrite then press OK.
Translation will be imported to the specific language column, saved and reflected in the Search control added to the target language website.