Using PDF in Illustrator When Source Files are Lost
Adobe Portable Document Format (PDF) is a versatile file format that can represent both vector and bitmap data. Adobe Illustrator is one of the most powerful vector graphics editors and it is a great tool for working with these kinds of files. In fact, the native Adobe Illustrator file format (*.AI) is PDF, and as such it is one of the best applications supporting direct import/export to PDF.
Many times a translation company is asked to translate document content from PDF files when the source file (e.g. InDesign) is no longer available. GPI has found that Illustrator can be a good solution for opening the PDF file and recovering the file, or part of it, to avoid recreating the source file from scratch.
How to edit PDF files in Adobe Illustrator
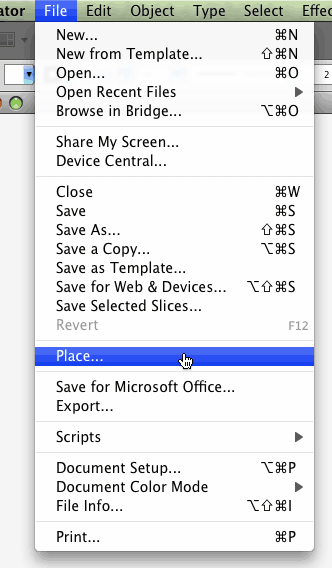
You can bring artwork from PDF files into Illustrator using the Open command, the Place command, the Paste command, and the drag-and-drop feature.
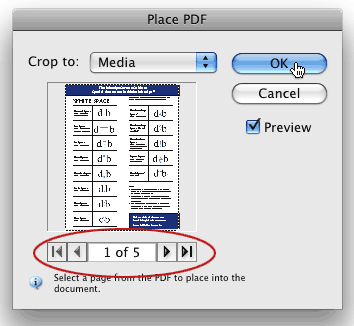
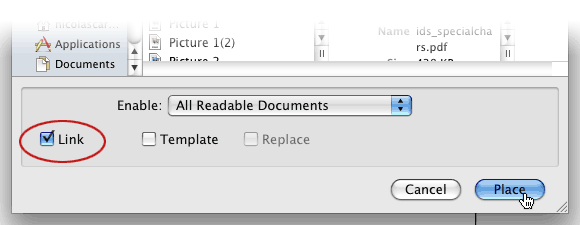
- Use the Place command with the Link option selected to import a PDF file (or one page of the PDF if it is a multi-page document) as a single image. You can modify the linked image using transformation tools; however, you cannot select and edit its individual components.
- Use the Open command or the Place command with the Link option deselected to edit the contents of a PDF file. Illustrator recognizes the individual components in the PDF artwork and lets you edit each component as a discrete object.
- Use the Paste command or the drag-and-drop feature to import selected components from a PDF file, including vector objects, bitmap images, and text.


Fonts in Adobe PDF files
Let’s suppose you receive a PDF file that you need to modify through desktop publishing. You choose Illustrator to edit the content, but when you open the file all fonts are replaced by the default fonts, because you don’t have those fonts used in the PDF. The font information does exist in the PDF; theoretically if you convert all the text to outline you will be able to work with the document.
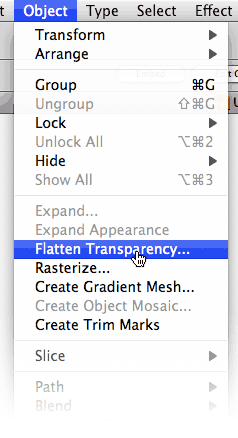
In order to convert text to outlines, you have to open a new Illustrator document. Place the PDF. Select the menu Object / Flatten transparency. Make sure that “Convert all text to outline” is checked and you will get the whole PDF in curves. For an illustration, view the screen capture in our previous blog, “What You Need To Know About Graphic Localization.”
This option is really helpful if you want to keep part of the content in the “original font” without editing, like the logo, slogans, product names, etc.


The alternate option listed below has advantages when you want to work with editable text and you don’t have the fonts. Illustrator will replace the missing fonts with the default ones and you can easily identify these fonts in the character menu; the font name will have an asterisk.
Find and replace missing fonts in Adobe Illustrator
- Choose Type > Find Font.
- Select the name of a font you want to find in the top section of the dialog box. The first occurrence of the font is highlighted in the document window.
- Select a replacement font in the bottom section of the dialog box. You can customize the list of replacement fonts by doing the following:
- Choose an option from the Replace With Font From pop-up menu: Document to list only the fonts that are used in the document or System to list all fonts on your computer.
- Select the kinds of fonts you want to include in the list; deselect the kinds of fonts you don’t want to include.
- Do one of the following:
- Click Change to change just one occurrence of the selected font.
- Click Change All to change all occurrences of the selected font.
- When there are no more occurrences of a font in your document, its name is removed from the Fonts in Document list.
- Repeat steps 2 through 4 to find and replace a different font.
- Click Done to close the dialog box.
Note: When you replace a font using the Find Font command, all other type attributes remain the same.
