Setting up Adobe Experience Manager for Multilanguage Websites Part 1
Adobe® Experience Manager is a powerful platform that allows users to build content-centric applications: Web Content Management, Workflow Management, Digital Asset Management and Social Collaboration.
Adobe Experience Manager user interface is very user friendly and the extensive use of standards helps. Adobe Experience Manager JCR (Java Content Repository) has many useful features as well, such as search, versioning and access control.
Adobe Experience Manager main platform components:
– Adobe Experience Manager WCM (Web Content Management) allows users to generate and publish pages.
– Adobe Experience Manager Workflow: a process that can be used by all applications running on Adobe Experience Manager but also can be accessed by applications outside Adobe Experience Manager using JAVA API and RESTful HTTP interface. Adobe Experience Manager workflows are used to control the process of generating and publishing content through steps such as approval and sign-off.
– CQ components handle the process of rendering the content. They include templates and specific components such as Text with Image, column and subtitle controls.
– CQ widgets represent the basic elements used to implement a specific user function, mainly editing content. Widgets includes buttons, dialogs etc…
Adobe Experience Manager is based on the following technologies:
– Apache Sling which is a web application framework for content-centric-applications using java Content Repository such as Apache Jackrabbit or CRX, to store and manage content.
– OSGi technology which is a set of specs that defines a dynamic component system for Java. These specifications reduce software complexity by providing a modular architecture for large-scale distributed systems as well as small, embedded applications.
– Java Content Repository that uses JSR API to access the content repository using Java, independent of the physical implementation.
Setting up Adobe Experience Manager for multilingual websites
If you plan on translating your website, or as we call website localization, Adobe Experience Manager Web Content Management System handles multilanguage content in a very professional and organized way. Following simple steps, the source content can be easily localized into an number of target languages.
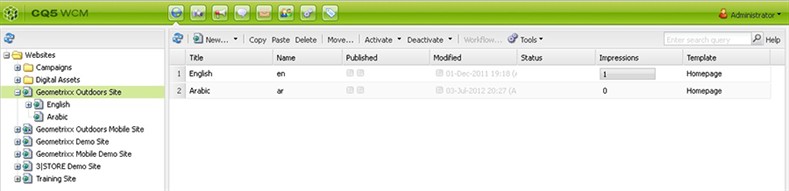
1- Select the Site with the source language
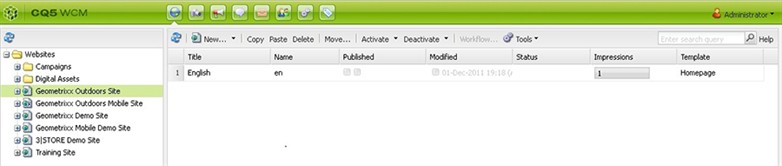
2- Select New

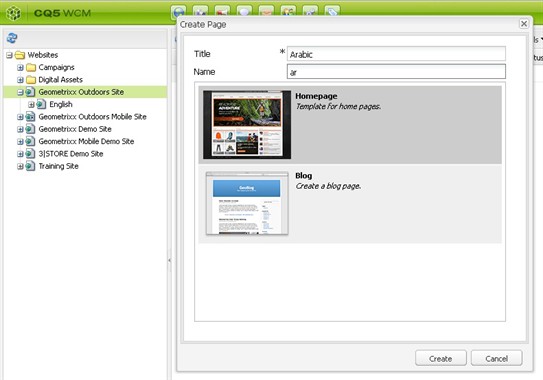
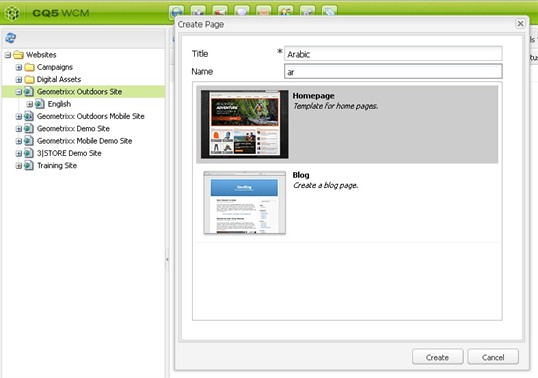
3- Enter Title and Name.
** Name will be the target language locale and needs to have the following format:
<language-code> or <language-code>_<country-code>
– the supported language code is lower-case, two-letter code as defined by ISO-639-1
– the supported country code is lower-case or upper-case, two-letter code as defined by ISO 3166
Examples: en, en_US, en_us, en_GB, en_gb.
4- Select the template and click create
The main node of the target website will be created
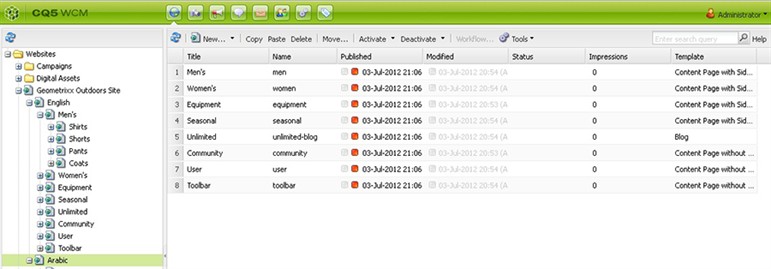
Create a copy of the source pages (English) to the new website in target language:
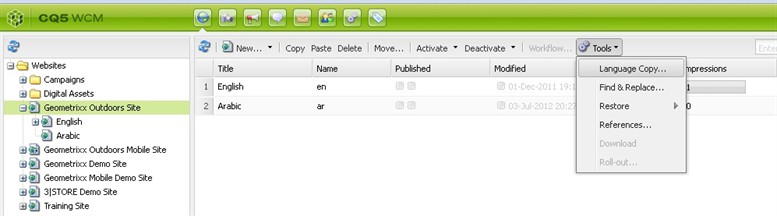
1- Select the web node from the tree in the left
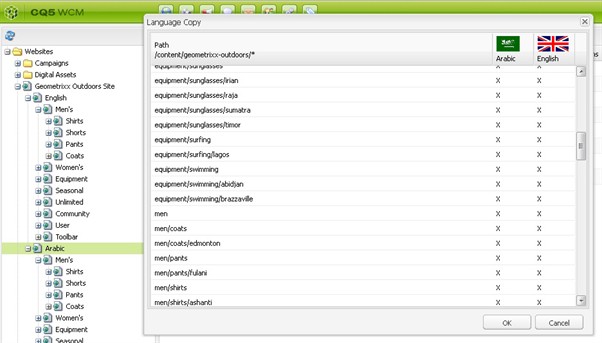
2- Select Tools >Tools>Language copy
3- Select English+ for each parent node
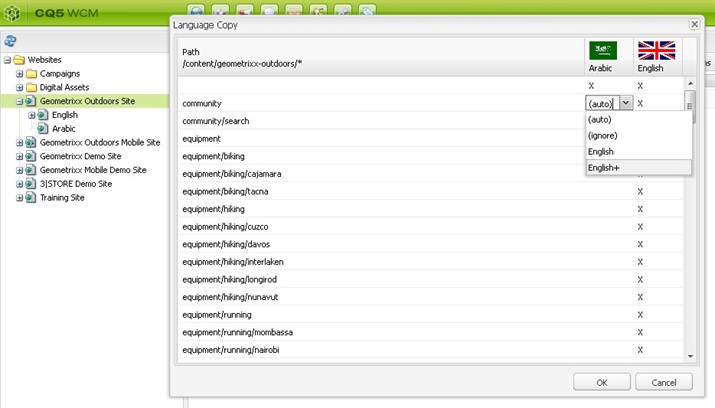
Note:
No need to select page by page to copy all the website, rather select only the main parent node and select English+ (en+) and then all the subpages will be copied to the target website. In the below example, Selecting “Men” and/or “Seasonal” Parent node with En+ will select the entiresubpages (Men/* | Seasonal/*).
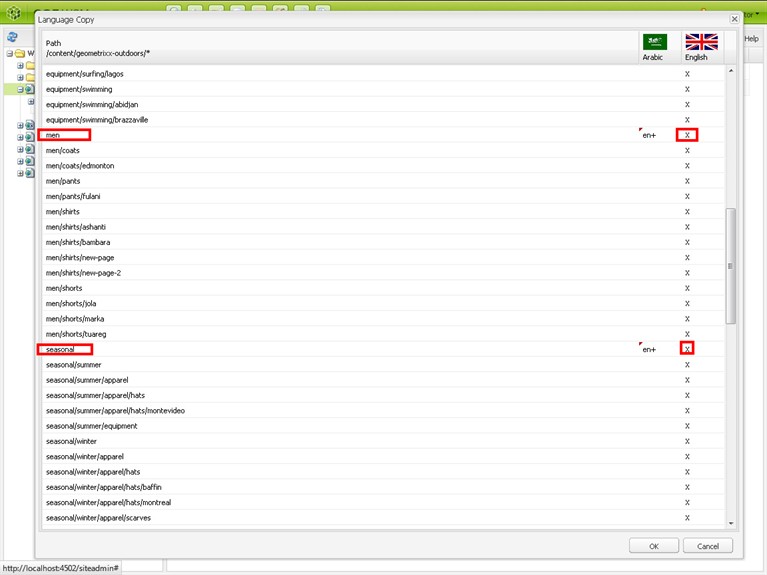
In case that all the website need pages need to be localized, after selecting all the Parent nodes of the website using the English+ (en+) and press OK, all nodes should be selected automatically.
Once the Language copy process is done, the complete new websites with all the pages will be available and with identical same structure as the original source website.
Please make sure to read the next blog in the Adobe Experience Manager series entitled:
Part Two: Adobe Experience Manager Website Translation and Content Management