Multi-language Content in HubSpot Part 2
When it comes to website localization, HubSpot offers many great features to help you translate your content in an easy and organized way. In the second part of this HubSpot blog series, I will cover some best practices for translating your website’s main menu and footers.
Localizing Your Website’s Menu
How you will localize your website’s main menu is one of the first questions that comes up while working on website localization projects. One of the possible ways is to generate different templates for each language. This option could solve the issue, but you’ll have two disadvantages here:
- You need to assign the corresponding language template to each page, which could be time consuming depending on the size of your website.
- You need to maintain each template so if a change is needed in the main language template, then you’ll need to go and modify all of the language templates.
The other possibility is to create a custom module. This option has the benefit of not requiring multiple templates. Below are instructions to create a custom module:
1. Login to the HubSpot panel.
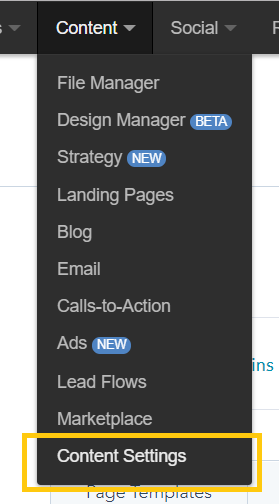
2. Go to Content > Content Settings.
3. Click on Advanced Menus.
4. Create a new Advanced Menu for each language. Use the Advanced Menu from the primary language as the reference.
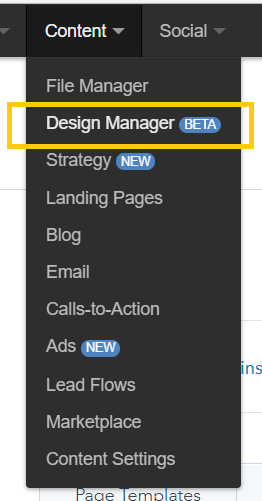
5. Go to Content > Design Manager.
6. Create a Custom Module using the following HubL code:
[code]
{# Custom menu #}
{% if (content.slug is string_startingwith “es-es/”) or (content.slug ==”es-es”) %}
{% menu “custom_menu” site_map_name=’Commerce Menu ES’, overrideable=False, root_type=’site_root’,
flyouts=’true’, max_levels=’2′, flow=’horizontal’, label=’Advanced Menu’ %}
{% elif (content.slug is string_startingwith “pt-pt/”) or (content.slug ==”pt-pt”) %}
{% menu “custom_menu” site_map_name=’Commerce Menu PT’, overrideable=False, root_type=’site_root’,
flyouts=’true’, max_levels=’2′, flow=’horizontal’, label=’Advanced Menu’ %}
{% else %}
{% menu “custom_menu” site_map_name=’Commerce Menu Primary Language’, overrideable=False,
root_type=’site_root’, flyouts=’true’, max_levels=’2′, flow=’horizontal’, label=’Advanced Menu’ %}
{% endif %}
[/code]

Note: this example expects es-es and pt-pt as language indicators in the URLs. If you are going to use any other set of languages, you’ll have to modify that sentence and add as many elif sentences as languages you want to add. Also, notice that it references menus by their name and the language codes should match with the ones in the URLs.
7. Publish the Custom Module.
8. Go to the template of your website.
9. Modify the template to use the Custom Module you created for the menu. You can do that by swaping the module.
By using this approach, you’ll have a menu that will automatically switch based on the selected language.
Localizing Your Website’s Footer
For your website’s footer, you can apply the same concept as mentioned previously. You can either create multiple templates (one for each language) or create a custom module.
Using Different Templates per Language
As previously mentioned, using different templates per language has some disadvantages. It depends mostly on your website and your future expectations. For example, if you are planning to have different websites for each locale and each will have different themes, sets of colors or even a different structure, you may want to have different templates per language.
In general, consider that having a different set of templates will be more time consuming in terms of maintenance, especially when the website needs to be translated into multiple languages. If you’re going to follow this practice, take into account that creating modules for any piece of shared content between languages could help to save costs in terms of translation and maintenance.