How to Create a Multilingual Website with Concrete CMS
Concrete CMS is one of the most used PHP content management systems (CMS). It provides great new features that will make your life easier than before, like the ability to drag and drop content and in-context editing.
Another new Concrete CMS feature is the multilingual section, which can be found in the admin dashboard and the switch language block. The multilingual section allows you to create localized pages in seconds and easily manage your supported locales.
Also, because of the multilingual section, Concrete CMS is optimized for search without any additional code or add-ons required, you don’t have to worry about searching for your content in any language.
To set up a new multilingual website or add new languages, follow the below steps:
Adding New Languages
After you complete the Concrete CMS setup, go to Dashboard > System & Settings > Multilingual > Multilingual Setup.
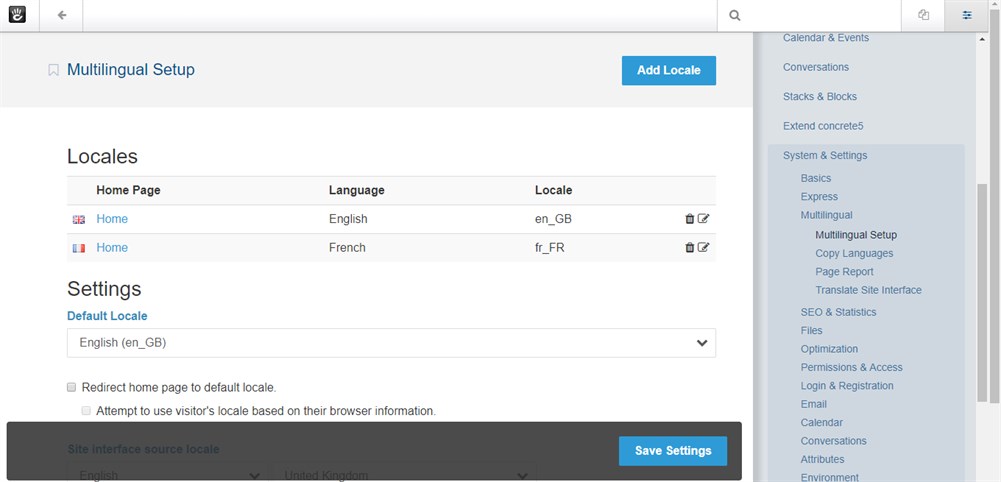
The page will look like the above screen capture. You can see the created locales, and add new languages by clicking on the Add Locale button and selecting your website’s default language.
Copying Language Content
Once you have created a new locale, go to Dashboard > System & Settings > Multilingual > Copy Languages.
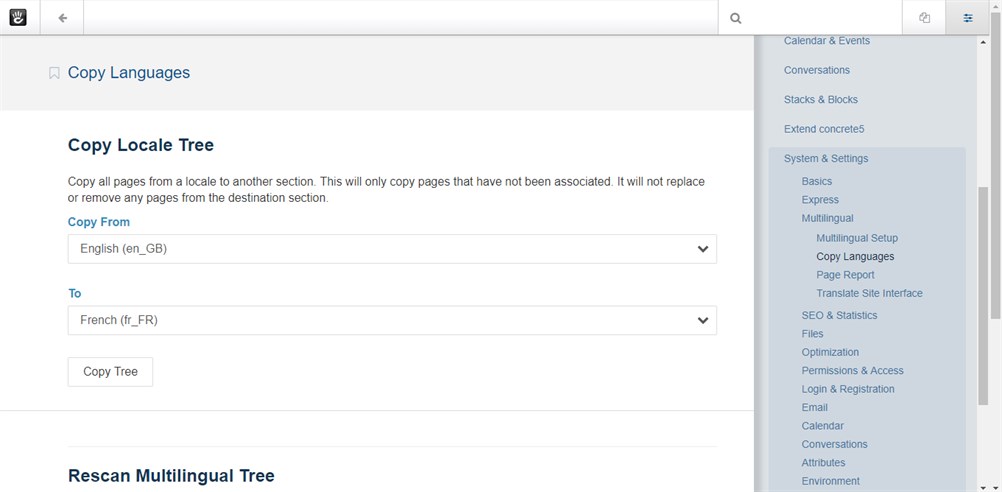
This will copy all pages from your source language to your target language (English to French for this example) but will not affect any page previously created in the target language, this will also not affect global blocks as they need to be localized manually.
To verify this step, go to the sitemap and compare the English site tree to the French site tree.
Another Way to Copy Language Content
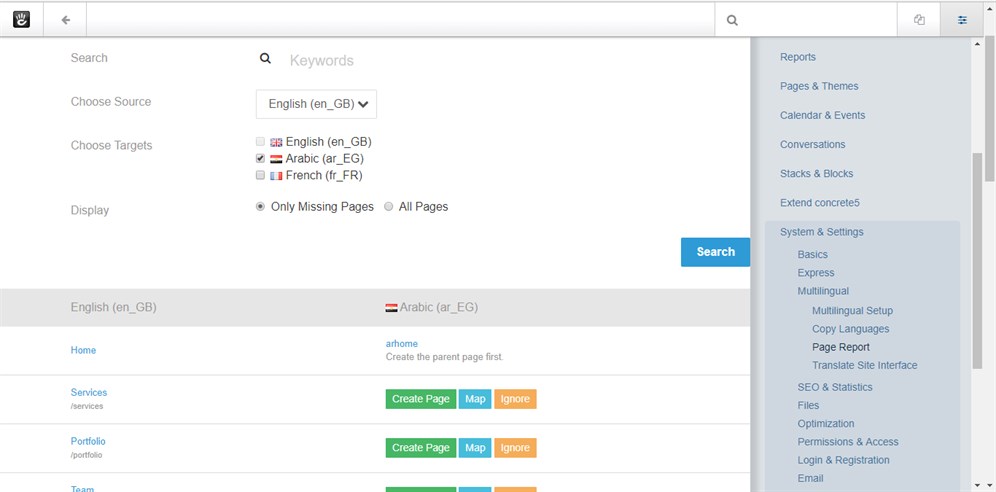
For this example, I created an Arabic locale but didn’t use Copy Languages as I wanted to do it page by page. To do this, go to Page Report after you create the new locale. Now for each page, click on Create Page, then go to the page link to approve the page’s new version.
Adding Switch Language Blocks
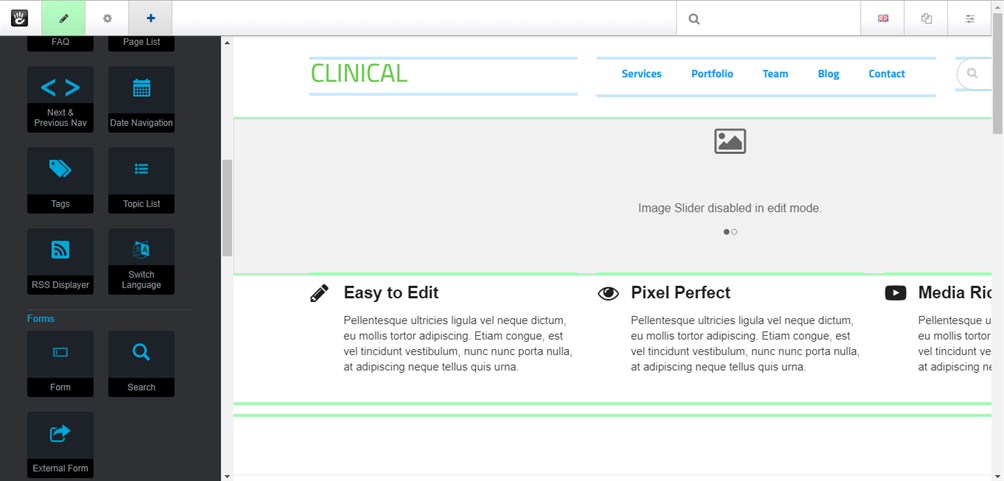
To add a switch language block on any page click, Add Content to the page. Drag the switch language block from the left side to the suitable placement on your page. Note that it’s a global area block, which means it will appear in the same place across the website.
Translating Stacks & Global Areas
Header navigation and footers are global areas in Concrete CMS and like pages, they need to have localized versions. After you create your pages and add the switch language block, go to Stacks & Global Areas > Global Areas.

If you go to Header Navigation, you will see the default version. Select any locale from the top side dropdown, then you can create a localized version for this block.
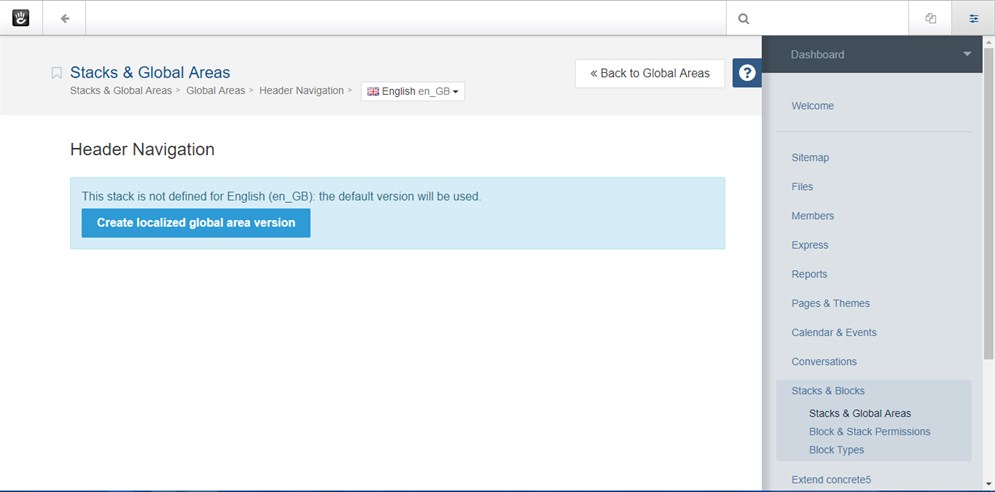
You must go to each locale for every global block and make sure you create a localized global area version. Unfortunately, there’s no automatic way to create localized areas yet, hopefully, we will see one in the future.