Best Practices for Contentful Localization
Contentful is a headless Content Management System (CMS). In other words, this platform focuses on managing the content and not how to present it. If you are building a website, you can use Contentful to manage its content and have developers create the site and access this content through an API. Contentful has great support for localization, such as enabling languages, defining what pieces of content can be translated, and managing content in multiple languages. In this blog, I will explain these different features and will provide some best practices for Contentful Localization.
Enabling Locales
Contentful allows you to group the content in spaces, which can be defined as a collection of content with a certain purpose. If you need your content to be available in multiple languages, the first step is to enable the corresponding locales at the space level.
To enable a locale, you need to follow these steps:
- Select the space where you want to add the locale
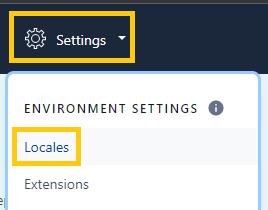
- Click on Settings > Locales
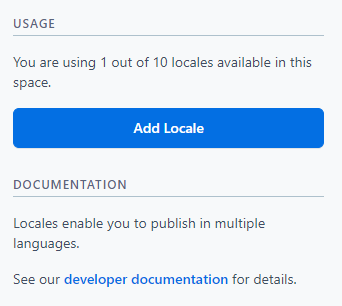
- By default, you will see that English (US) locale is enabled. Click on Add Locale button on the right sidebar.
- The next step will be to select a locale. The list is extensive but, if you require a locale that is not listed, you can use the Content Management API to create a custom one.
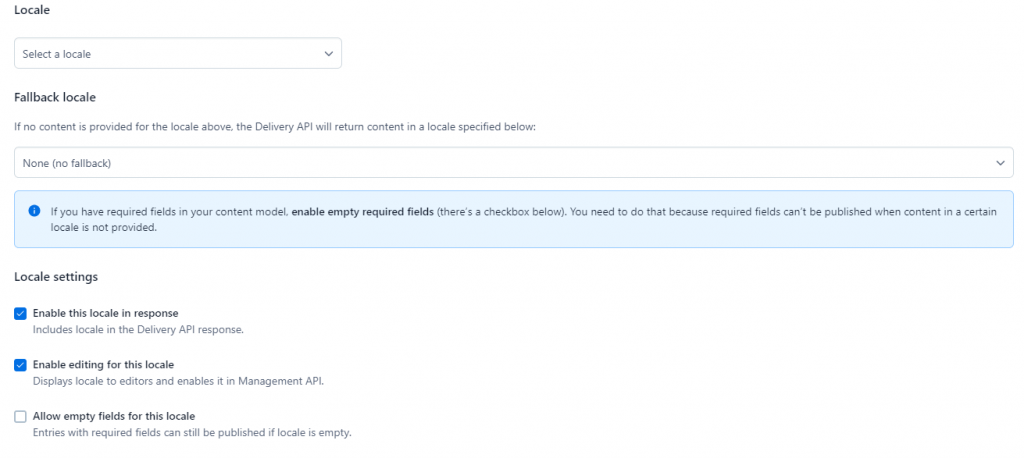
Additionally, you can specify a fallback locale (if there is no content in the given locale), it will show the content in the locale selected as a fallback. For example, if you are adding Spanish (Spain) as the locale and you select English (US) as the fallback, then, if there is no content for a given item in Spanish, Contentful will return the English (US) content.
There are additional settings that you can specify but I recommend you keep them with the default values.
- After reviewing all the fields, click on the Save button.
By following these steps, a new locale will be listed under Settings > Locales grid, and you will be able to translate the content into the target language in the given space.
Enabling Localization on Content Types
As mentioned before, Contentful organizes content into spaces that allow you to group all the related content for a project. Each space has a content model that represents the content types you create.
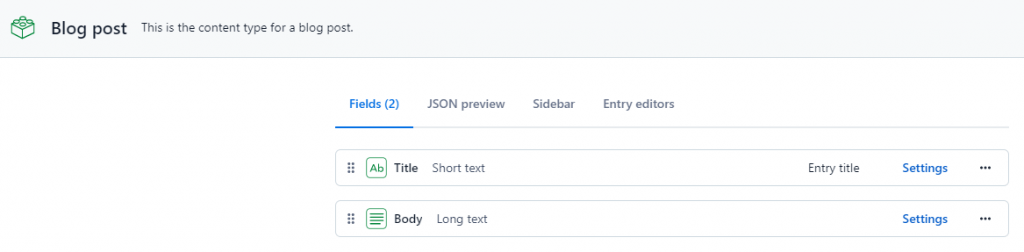
You can create your own content types, which have a name and a set of fields. For example, you could create a content type called Blog Post, which could have fields like a title (representing the title for the blog post) and body (representing the body of the blog). That way, any new blog post you create should have these two pieces of content (title and body). The definition for this content type would look something like the following screenshot:
If you click on the Settings button on any of these two fields, you will see a popup like the following:
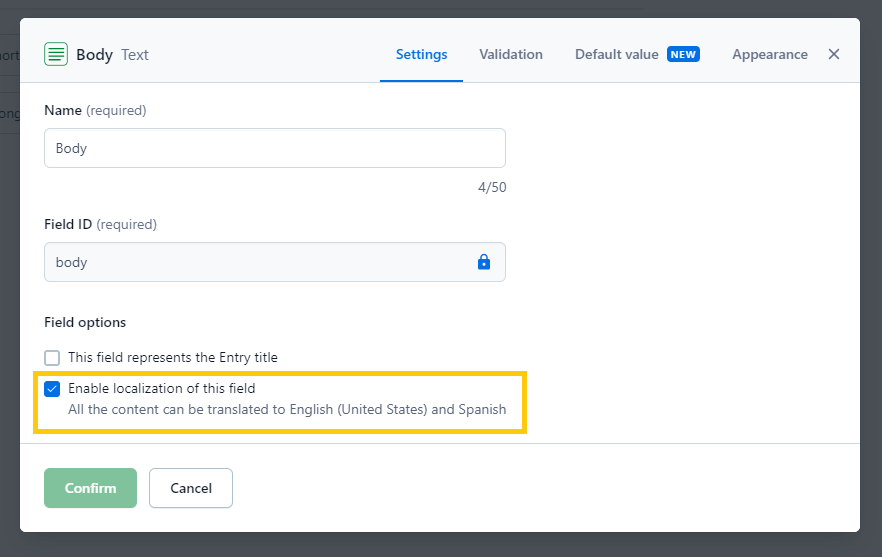
In this popup, you can check the option Enable localization of this field. This option, when checked, will allow you to translate the value on any entry of the given content type containing this field. This setting is not checked by default, so make sure to review all the content types and the fields are enabled for localization as expected, before starting any localization project.
Translating Content
Once you are done enabling locales, defining content types, indicating the fields that allow localization, then you will be able to create multilingual versions of your content. For example, if we follow the example of our Blog Post type, we could have an entry like the following:
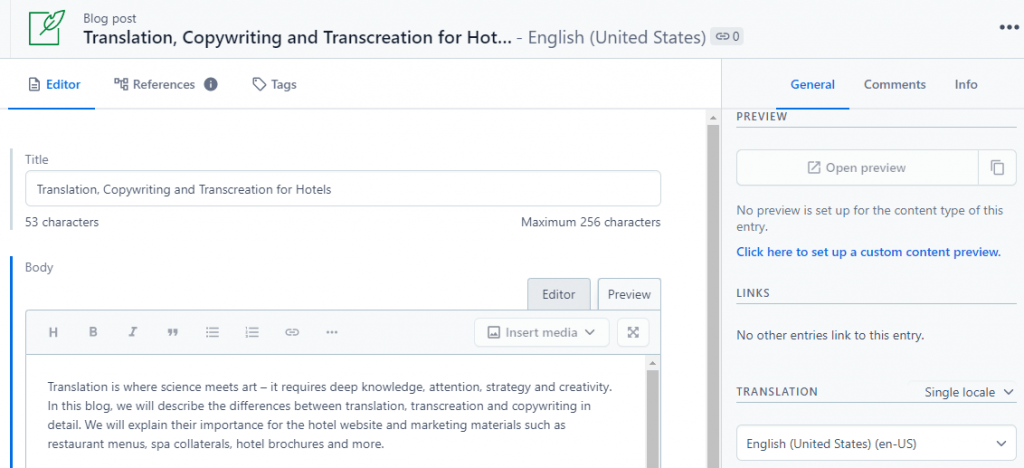
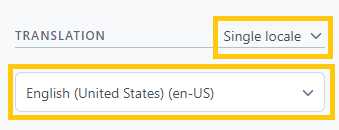
If you check the sidebar, you will notice that there is a Translation section. Here you can specify how you want your content to be displayed on the editor:
- Single Locale: by selecting this option, the editor will show only the fields for the selected locale in the dropdown.
- Multiple Locales: by selecting this option, the editor will show the values of each field (if it allows localization) on each target locale.
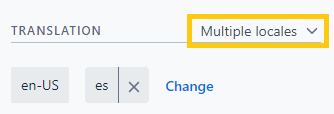
For example, for our Blog Post type, the title field will display like the following screenshot.

* The same criteria will apply to every field that has localization enabled.
This option is useful when you need to make translations directly in the online editor of Contentful.
The existing functionality allows you to review and populate translations manually. If you want to avoid entering your translations manually, which demands considerable amount of time when translating multiple entries, consider using a Translation Services Connector to automate the process and reduce it to just a few clicks.
Conclusion
Contentful provides great support for localization, allowing you to customize your content types and define what fields can be translated and which ones should not. It does not provide an out-of-the-box option to export content, but by using the Contentful API or installing an app like a connector, you will be able to get this functionality. Contentful is a great option if you are planning to manage multilingual content and use it across different platforms.