How to Publish an eLearning Course to Review 360
Articulate 360 includes an interesting tool that enables you to create, manage, and publish eLearning courses within one review link. It also allows all team members to check courses in one place and add comments related to their fields of expertise. This tool is Review 360. It is an online space that is very similar to the Learning Management System (LMS) and File Transfer Protocol (FTP) hosting, Review 360 enables you to show the course as everyone else will see it. In this blog, I will go through the steps on how to publish an eLearning course to Review 360.
Step 1: Publishing a New Course or Editing an Existing Course
1. Click on the Home tab and click Publish.
2. Select the Review 360 tab on the left (as shown below).
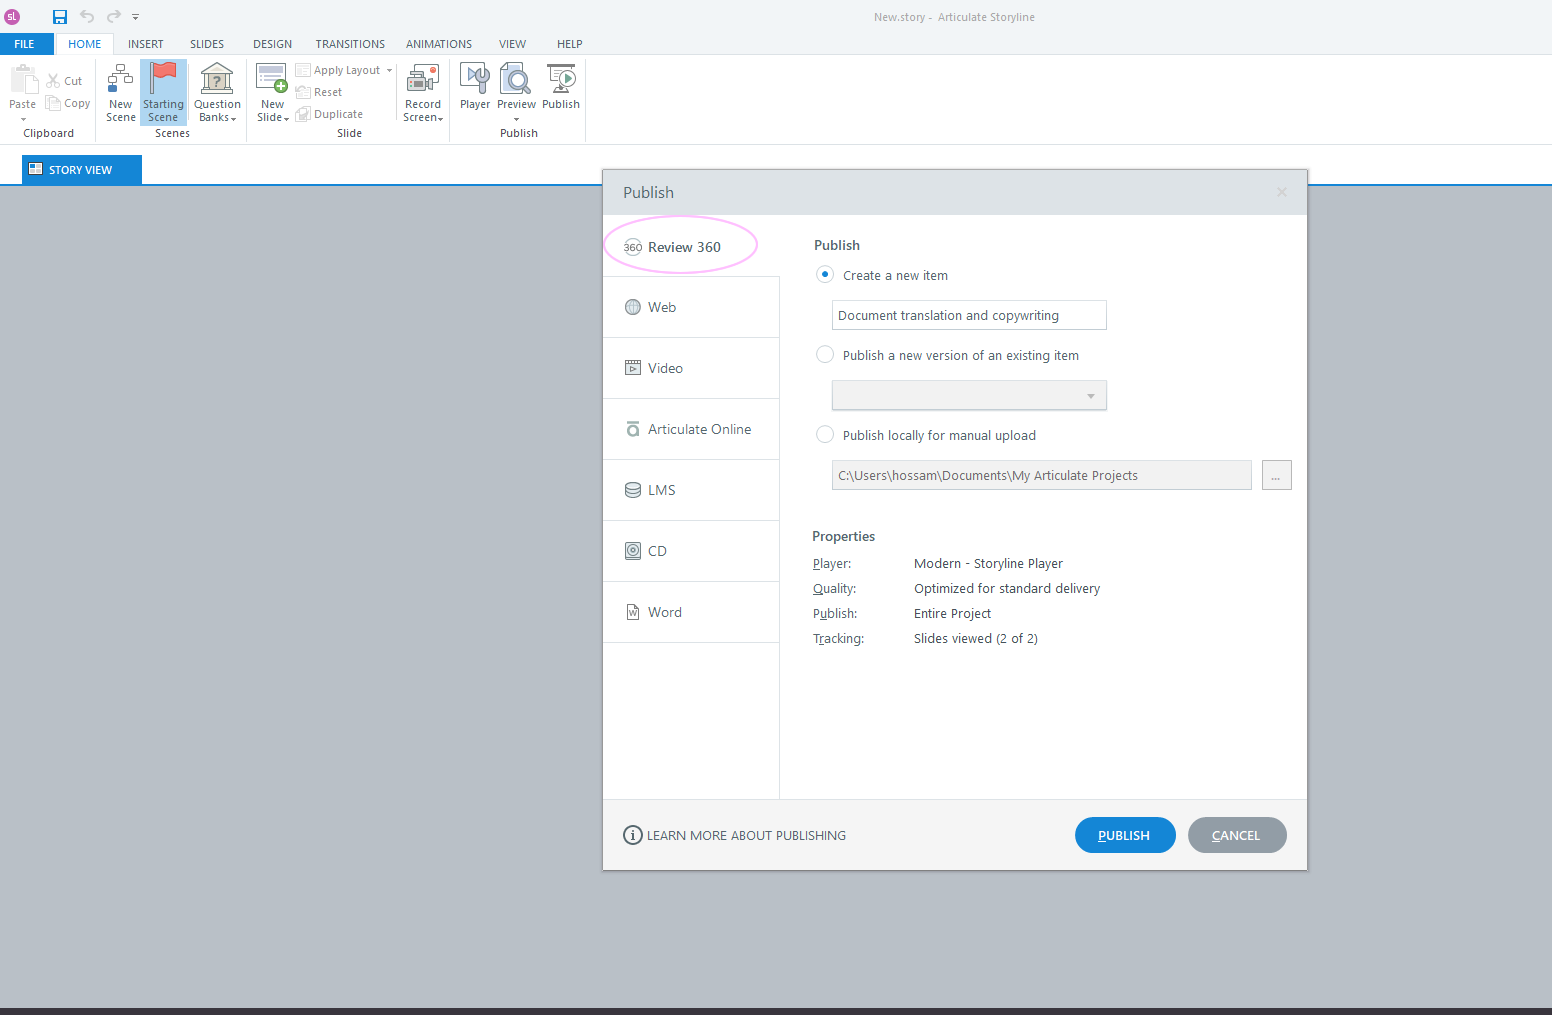
3. Choose to publish a new course or update a course that has already been published before.
• To create a new item: Choose this option to publish a new course to Review 360, then give it a name.
Note:
– The title on the player will display up to 80 characters.
– The name of your course will be either the name of the placeholder in the first slide or the name of the file itself.
• Publish a new version of an existing course: Select this to update an existing already published course in Review 360. Select the item you want to update.
Note: One of the best features of this option is that Review 360 keeps version tracking so you can get back to any old version at any time.
• Publish locally for manual upload: Select this option to publish a course on your device to manually upload it.
Note: This option is great if you have a slow internet connection.
Step 2: Update a Course Thumbnail Image
This is optional but you may need it upon client marketing or SEO instructions. The default is that Storyline uses the view of the first slide in any course as the thumbnail image for the course on Review 360. However, you can choose a specific image.
1. Switch to the Web tab on the left side of the Publish window.
2. Click the ellipsis button (…) beside the Title field to open the Project Info window.
3. Click the hyperlinked text below the default image, then select a different slide in your course, or click Picture from File to choose an image on your hard drive.
4. Click OK to close the Project Info window.
5. Switch back to the Review 360 tab to finish the publishing process.
Step 3: Adjust the Quality Settings and the Player Properties
Use the Properties section of the Publish window to make any changes to the player and quality settings.
1. The Quality options enable you to control the compression settings for audio, videos, and images. The quality options default is always set to whatever the last used settings. To change them, click the Quality property, change what you need, and click OK.
• Choose Standard if you want to use the default settings: optimal video quality of 5, audio bitrate of 56 kbps, and JPG image quality of 100%.
• Choose Custom if you want to define your desired quality settings. Drag the slider for any of the three values to change the compression. Higher values give you higher-quality output but also larger file sizes (which means longer download times). Lower values give you smaller file sizes and faster download times, but the visual and audio quality will be lower as well.
• Mark the Optimize Audio Volume box to normalize audio throughout your course for consistent volume across all slides.
2. The Player property shows the name of the player currently assigned to your current course.
Note: To make changes to your player, click the player name to open the player editor.
Step 4: Choose to Publish a Slide, a Scene, or an Entire Course
The default action for publishing is to publish your entire course. However, you can now choose to publish a certain scene or just a single slide. This is very helpful when you want to test a particular scene or slide. To do that, just click the Publish property, then choose the entire project, a single scene, or a single slide.
Step 5: Choose a Tracking Option
If you insert your Storyline 360 project into a Rise 360 course as a Storyline block (see below), you get to choose how to track the completion of the Storyline block. Click the Tracking property, then select one, two, or even all three of the following tracking options. Whichever option a learner completes first is the one that Rise 360 uses to mark the Storyline block complete.
• When the learner has viewed # slides: Mark this option to trigger completion when learners view a certain number of slides. You can choose a percentage or a fixed number. Then decide which slides get counted—all slides or just those with slide numbers.
• When the learner completes a quiz: Mark this option to track learners based on their quiz results. You can let Storyline 360 keep track of multiple quizzes and send results to your LMS/LRS for the first quiz each learner completes.
• Using triggers: Mark this option to track learners based on course completion triggers you added to your course.
![]()
Step 6: Publish
When done adding all the options you want, click the Publish button. Your course will get published and uploaded to Review 360 at the same time. Please note that the speed of finishing this step depends on many factors. For example, course size, number of multimedia items, and your internet speed. When the Publish confirmation window appears you can View Project to open it on Review 360 using your default web browser.
Step 7: Giving Access to Your Published Course
To give viewers access to your published course:
1. Open your web browser to your Review 360 home page and click your course to open it.
2. Click Share in the upper right corner.
3. If you want to password-protect your course, mark the box to Set a password and enter a password in the field provided.
4. Copy the shareable link, then send it to your viewers. Be sure to give them the password, too, if you added one.
If you don’t want viewers to post comments on your course, click the ellipsis (…) button in the upper right corner and choose Disable comments.
It is recommended to always use Review 360 as a quality assurance step before you deliver your final product to the client. It is easy, time-saving, and guarantees the best collaboration between various teams.
Globalization Partners International has a rich collection of eLearning topics, download it for free.