Community Pages Localization in Salesforce: Part 1
This is the first blog in a series about Community Pages localization in Salesforce. In this blog, we’ll cover some of the aspects you need to consider when using the Community Builder. In the second part, we’ll cover topics related to Translation Workbench.
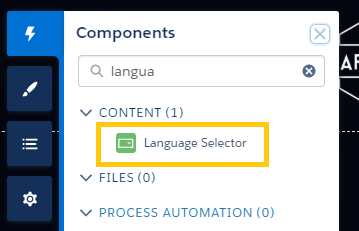
Language Selector
The Salesforce Community Builder provides you with some nice features to make the localization process easier. One of the most important features is the Languages section inside of the Settings panel:

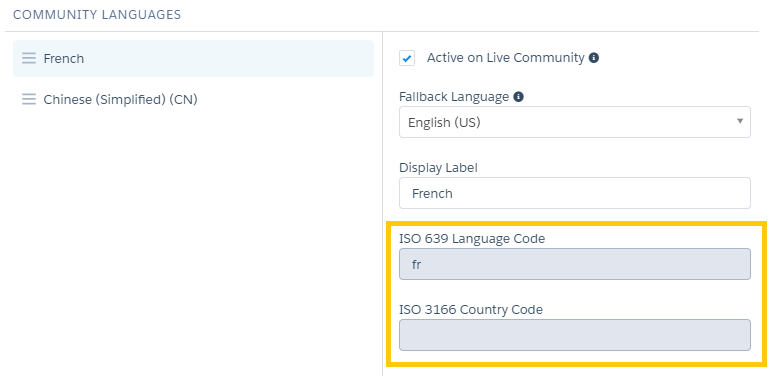
The Languages section allows you to define the different languages that you want your community to support (at the time of writing this blog, Salesforce Community Builder allows you to pick between 132 languages). Also, this section allows you to pick a default language for your community, which is the language in which your community initially displays. When adding a language, you can specify a Fallback language (typically the default language), which is displayed when the content is not available in the current language.
In regard to how Salesforce handles languages for community visitors, please consider the below:
- For guest users, the community will display in the default language and will provide a Language Selector, allowing them to pick between the available languages. This language selector is a component and can be added to your community from the Components section.
- For authenticated users, the language will be selected automatically based on their profile language.
Exporting/Importing Content for Translation
The languages section also provides a feature to export content for translation and import translations back. If you need to export content for translation, you must click on the export content button. By doing that, it will show a popup with the list of enabled languages. You must pick a language and then click on the export button.

Typically, you’ll be picking the source language in this step. For example, in my case I have the community in English (US) and I want to translate it into French and Simplified Chinese. I should select English (US) from the list of languages. The exported file will have a format like the following:
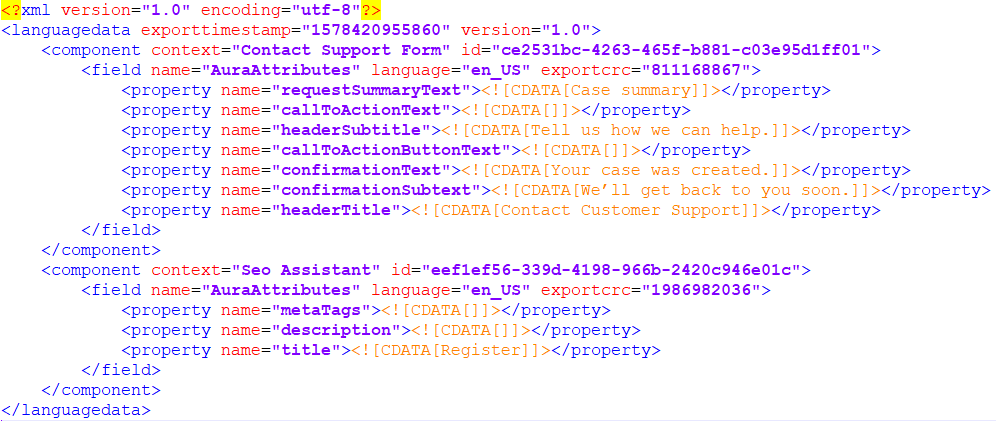
In this file, you can replace the English with the corresponding translation (maintaining the CDATA tags and all the structure).
Notice that both components have a language=“en_US” attribute. This is important to change in all the component tags from the file before importing to have the corresponding ISO code. For example, for the following setup for French, the language code should be language=“fr”.
In the same way, for Simplified Chinese it should have the language=“zh_CN” attribute.
Once the file is fully translated, you’ll be able to import the translations by clicking the import button from the Languages section and then uploading the XML file:
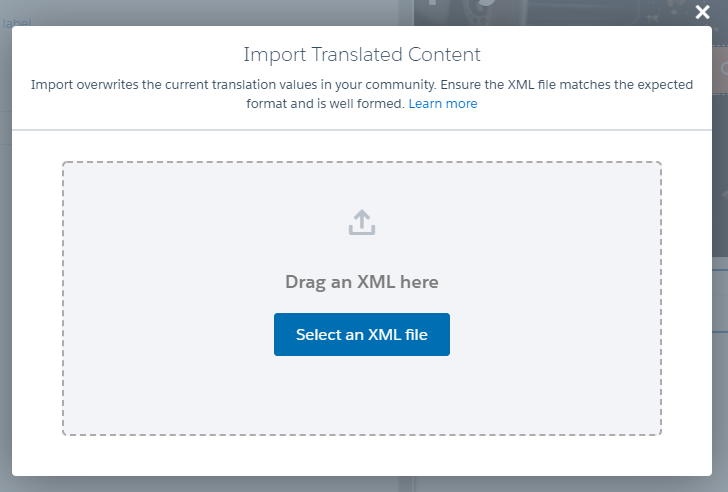
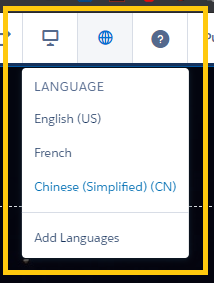
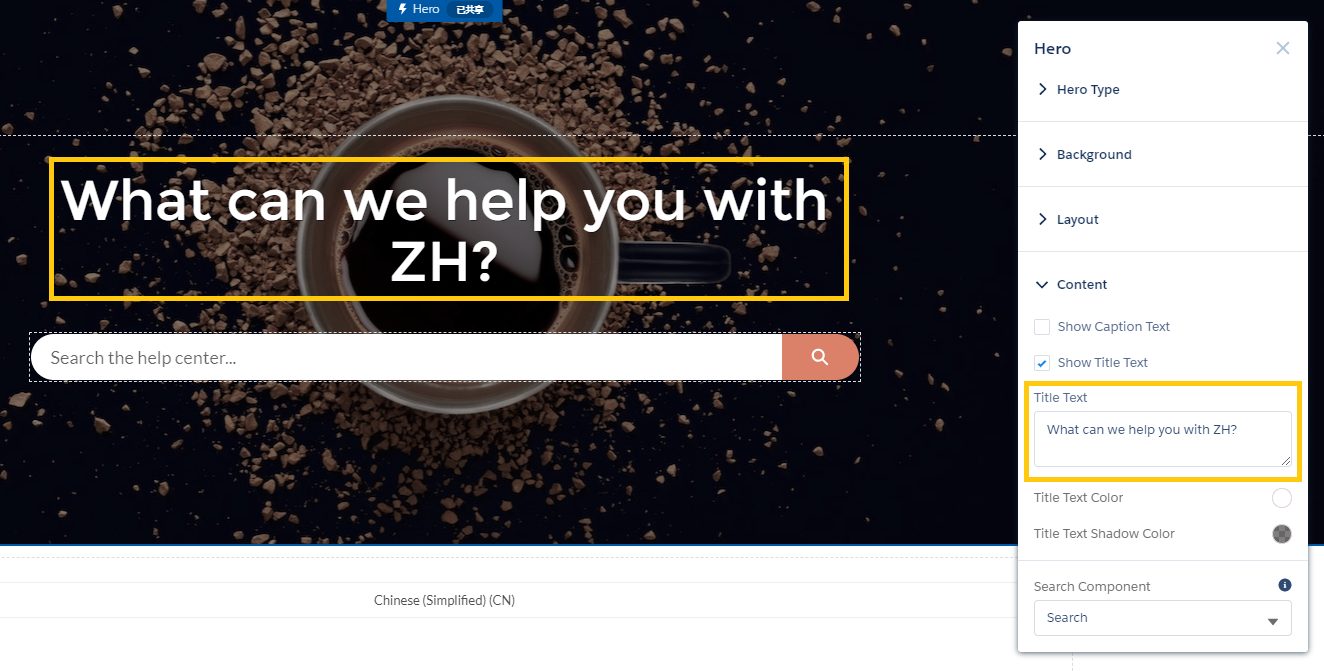
Sometimes, it can happen that some content from the community is not exported in the XML. In these cases, you’ll have to:
- Populate the translations manually in the Community Builder. This can be done by switching the language:
- Then populating the translation in the component:
Summary
In this blog we covered how to localize Community Pages in Salesforce using the Community Builder. The Community Builder allows you to select which languages you want to display, your default language and your fallback language. I also covered exporting content for translations and importing the translated content back in.
In the next blog in this series, I will discuss topics related to Translation Workbench.