Working with Images in InDesign: Three Helpful Tips

Adobe InDesign is a powerful tool and over the years it has become one of the most sought after desktop publishing tools. InDesign has many features that make the life of any user easier. In this tutorial, I will explain three powerful tips and tricks for working with images in InDesign.
Add an image or an object to multiple boxes
Adding images has never been a problem in InDesign. However, adding one image and dividing it into many frames can be a challenge for some users. InDesign enables us to import one image inside of multiple frames. Here is how anyone can do this.
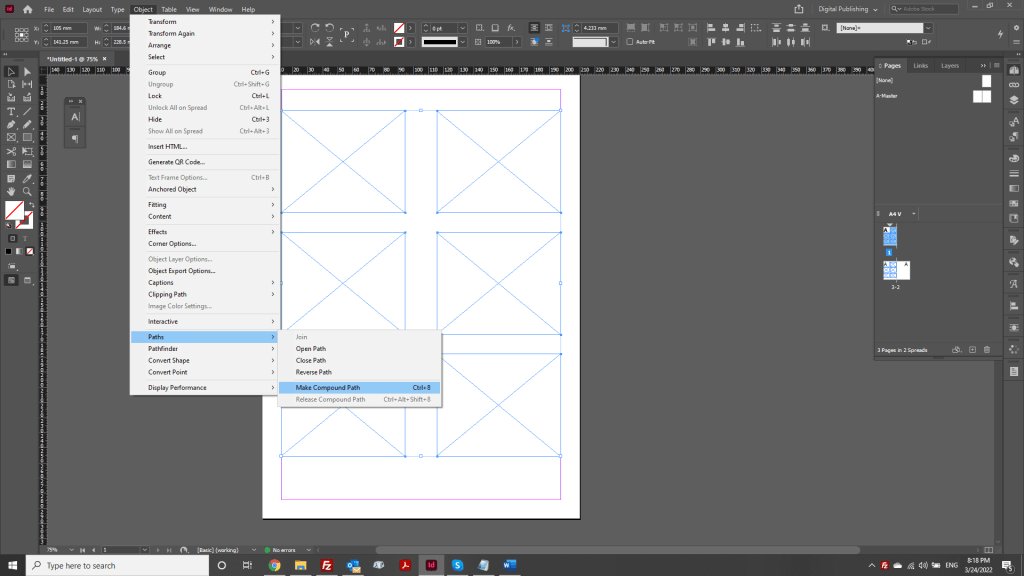
After creating the desired number of frames, you want to import the image, click the “Selection” tool and then shift-click each frame you would like the image to appear in:

Tip: You can use the “Alt” option key to duplicate the boxes across your document.
Once you have selected all the boxes, choose Objects > Paths > Make Compound Paths, now all these boxes are combined in unison.
Go to File > Place, and navigate to the image you want and click Open.
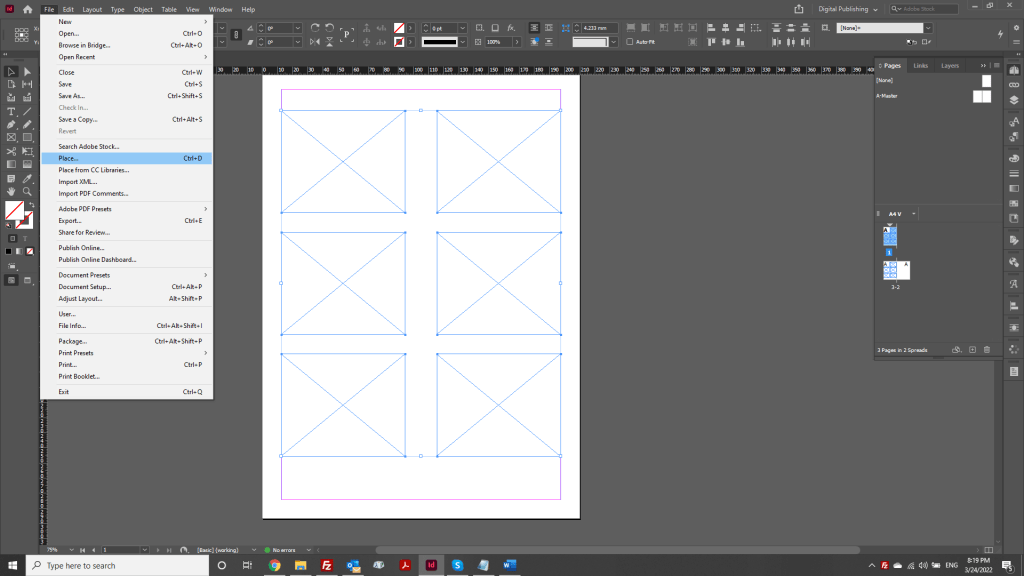
InDesign will automatically spread the image throughout all the selected frames.
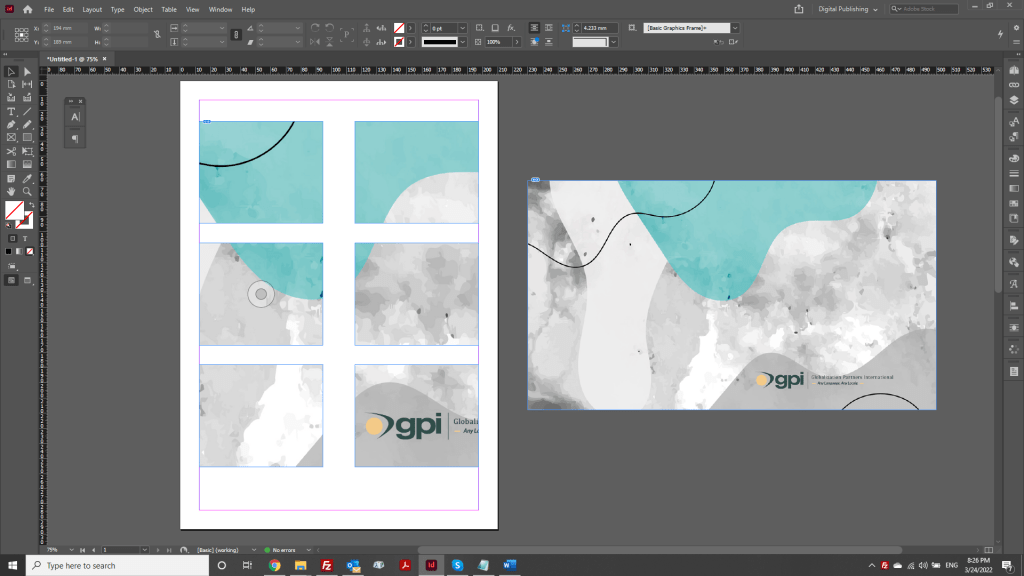
So, not only can we add an image or an object to just one box, we can spread that image across multiple boxes. This is an awesome trick for making magazines and other print media look more interesting.
The next tip is about converting shapes by choosing from a list of options.
Shape Conversion
Adding images to rectangle boxes can become boring especially if you want to make your design standout. To change the shape of an image, go to Object > Convert Shape, choose from the list of options, and select the shape you would like to use. For this example, I will choose to convert the shape from a rectangle to a triangle.
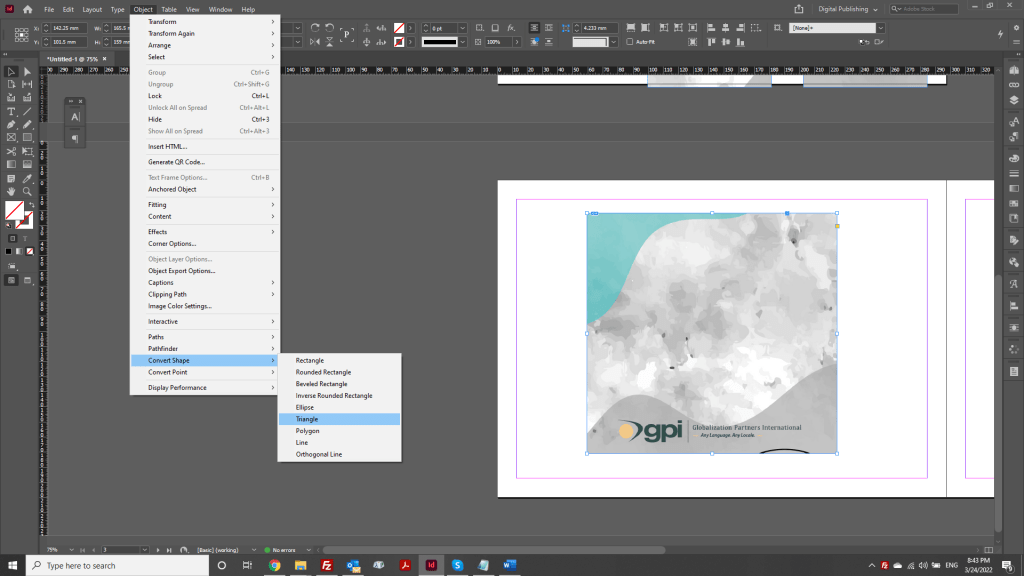
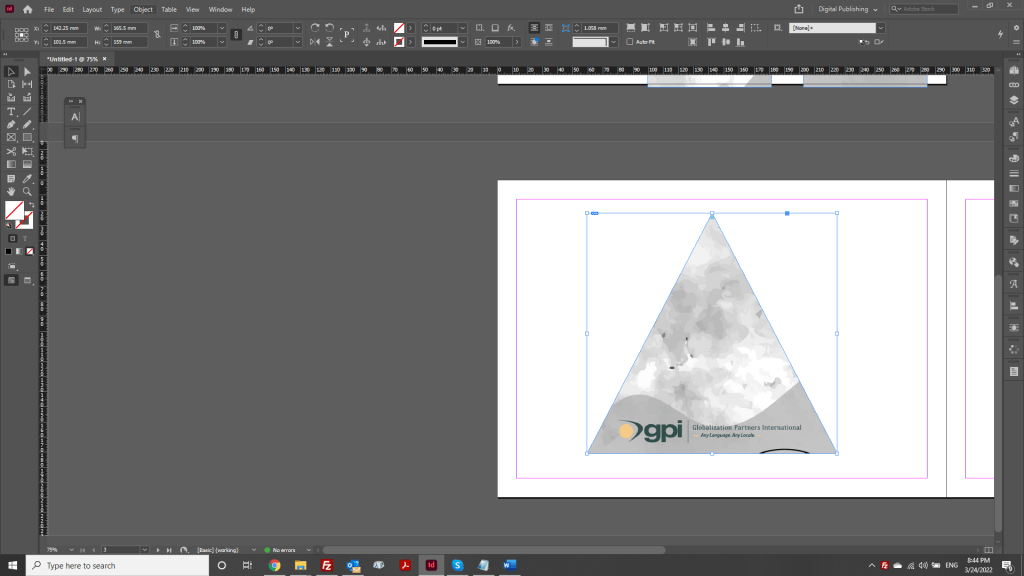
Voila! That is how simple it is.
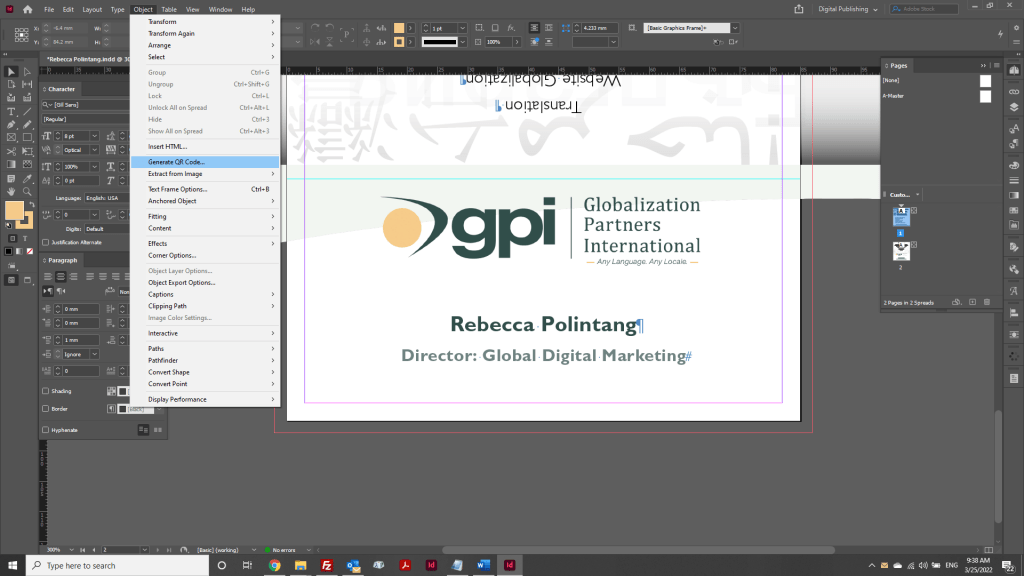
The third and last tip in this blog is how to generate QR codes. InDesign makes it extremely easy to create QR codes.
Generating QR Codes
With InDesign, you can create and modify QR codes, allowing users to encode hyperlinks, text messages, email messages, or business cards. Since InDesign deals with QR codes as graphics, you can modify them just as you would graphics.
Let’s add a QR Code to this business card template. What we need to do is go to Object > Generate QR Code.
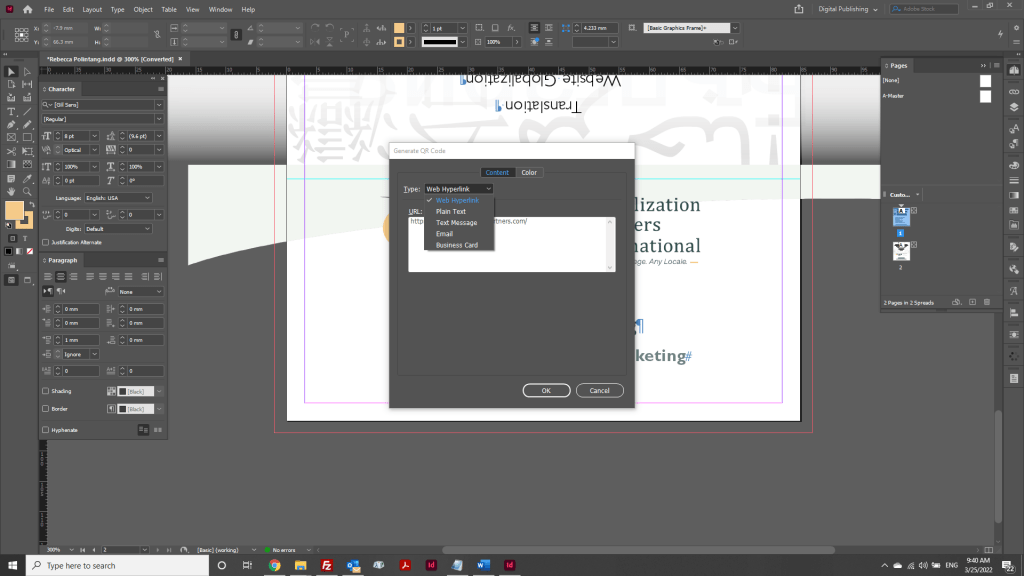
Then we can decide what kind of information we want to share. I’ll choose a “Web hyperlink”, so my QR Code sends the viewer to “https://www.globalizationpartners.com” when they scan it with their smart device. After adding your web link target, click on OK.
Now, I have a functional QR Code.
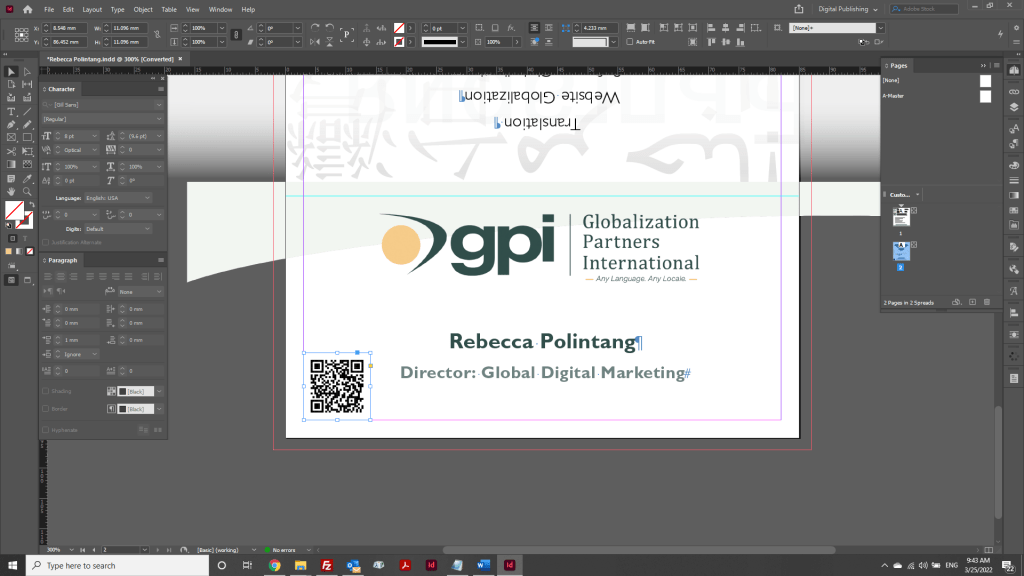
It’s that simple!
InDesign is full of useful tips and tricks which can enhance your skills and enable you to work in the most efficient way possible. I hope that you found this topic “Working with Images in InDesign” helpful.