Adobe Experience Manager Content Translation and Management Part 2
Once an Adobe Experience Manager website is set up for a multilingual website deployment (review: Setting up Adobe Experience Manager for Multilanguage Websites Part 1), website content can be localized into different target languages by exporting/importing the content using the built-in Adobe Experience Manager CRX Package manager.
CRX Package Manager is an Adobe Experience Manager tool for creating, editing packages, previewing package content, building, downloading and deleting packages. An Adobe Experience Manager package is a bundle in zip format that includes content along with other related data.

Package Manager can be accessed from Adobe Experience Manager welcome screen or directly using the following path: https://<server name>:<port number>/crx/packmgr/.
Exporting Content
1- After login select Packages
2- Select Create Package
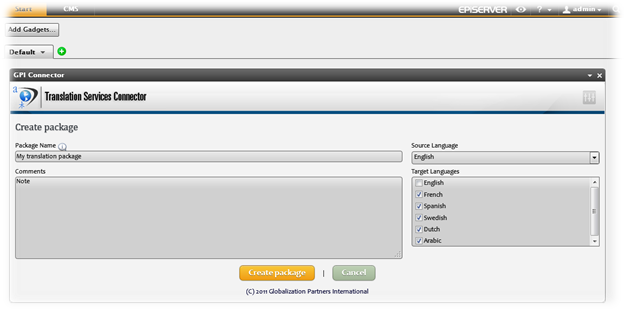
3- Add package name and version and press OK.
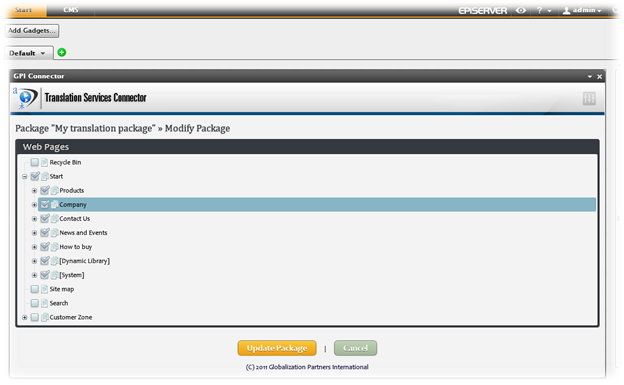
4- Select Edit > “Filter” TAB > Add Filter button
5- Add Root Path:

6- Expand the content node and select the website node (this is for the content).

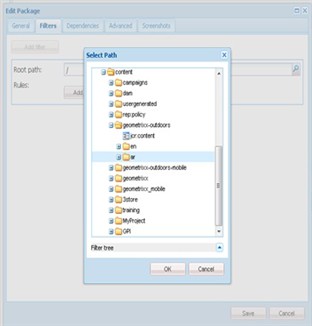
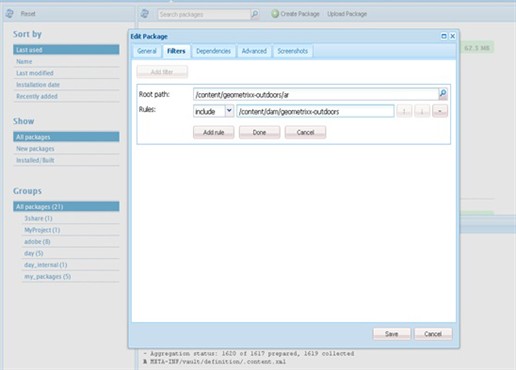
The above package includes the content and a rule to include the path of images. By Default all the website images are under ContentDAM {site name}
7- Press Done, then Save
8- Press Build
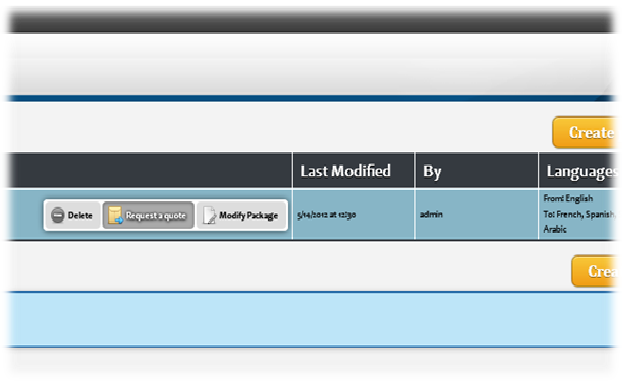
9- Final step is downloading the compressed zip folder.

Package’s folder structure
Translation specification
- Format: XML
- Translation units: jcr:title, name, subtitle and text
Import back the translation
1- Zip the package in the exact same structure as the source package
2- From CRX Packager select Upload Package

3- Browse to the package and check “Force Upload”, then click OK
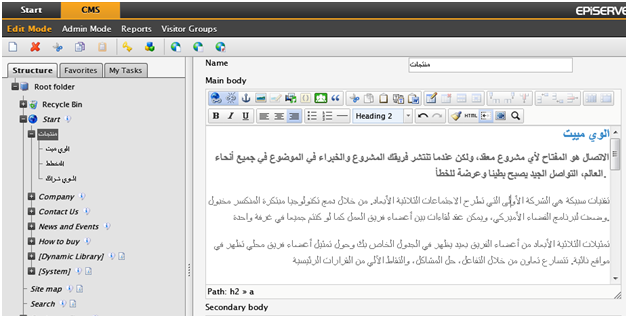
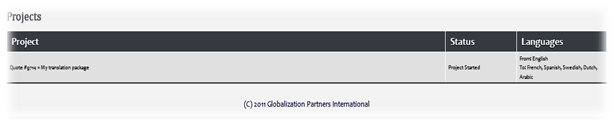
Once the translation package is imported successfully, a new localized version in the target language will be available with identical structure as the original website.